

%20for%20Microsoft%20Power%20Platform%20-%20A%20Comprehensive%20Guide%20(Part%203%20-%20working%20with%20solutions))
Table of Contents
This is the third part of a series of articles, part 1 (basics and background & part 2 (preparing your environments) were published before.
Solutions are a key feature of Power Platform that allows users to transport apps, bots, and components from one environment to another or apply customizations to existing apps.
Here are some benefits of working with solutions in Power Platform:
-
Application Lifecycle Management (ALM): Solutions serve as the mechanism for implementing ALM in Power Platform and other related products, such as Power Automate. They facilitate the management of an app’s lifecycle by providing a means to create, update, upgrade, and patch a solution.
-
Customization Management: Solutions enable you to manage your customizations in an organized manner. You can create a solution and perform all your customizations within it. Then, you can effortlessly distribute your solution to other environments.
-
Managed Properties: By utilizing managed properties, you can control which components of your managed solution are customizable. This helps safeguard your solution from modifications that might cause it to malfunction after being imported into another environment, such as testing or production.
-
Ease of Deployment: Solutions decrease the initial investments required for traditional enterprise software development. They also reduce the range of resources and skills necessary for deployment.
Idea behind
Instead of working on your application in your production environment (prod), we create a development environment (dev), import the solution file to it, work on it, and test the outcome. Every developer is responsible for their own outcome. We create a new branch in the repository, export the modified solution to it, create a pull request, and merge it after testing again in a test environment (test). Finally, we deploy it to your production environment (prod).
Create a new solution
-
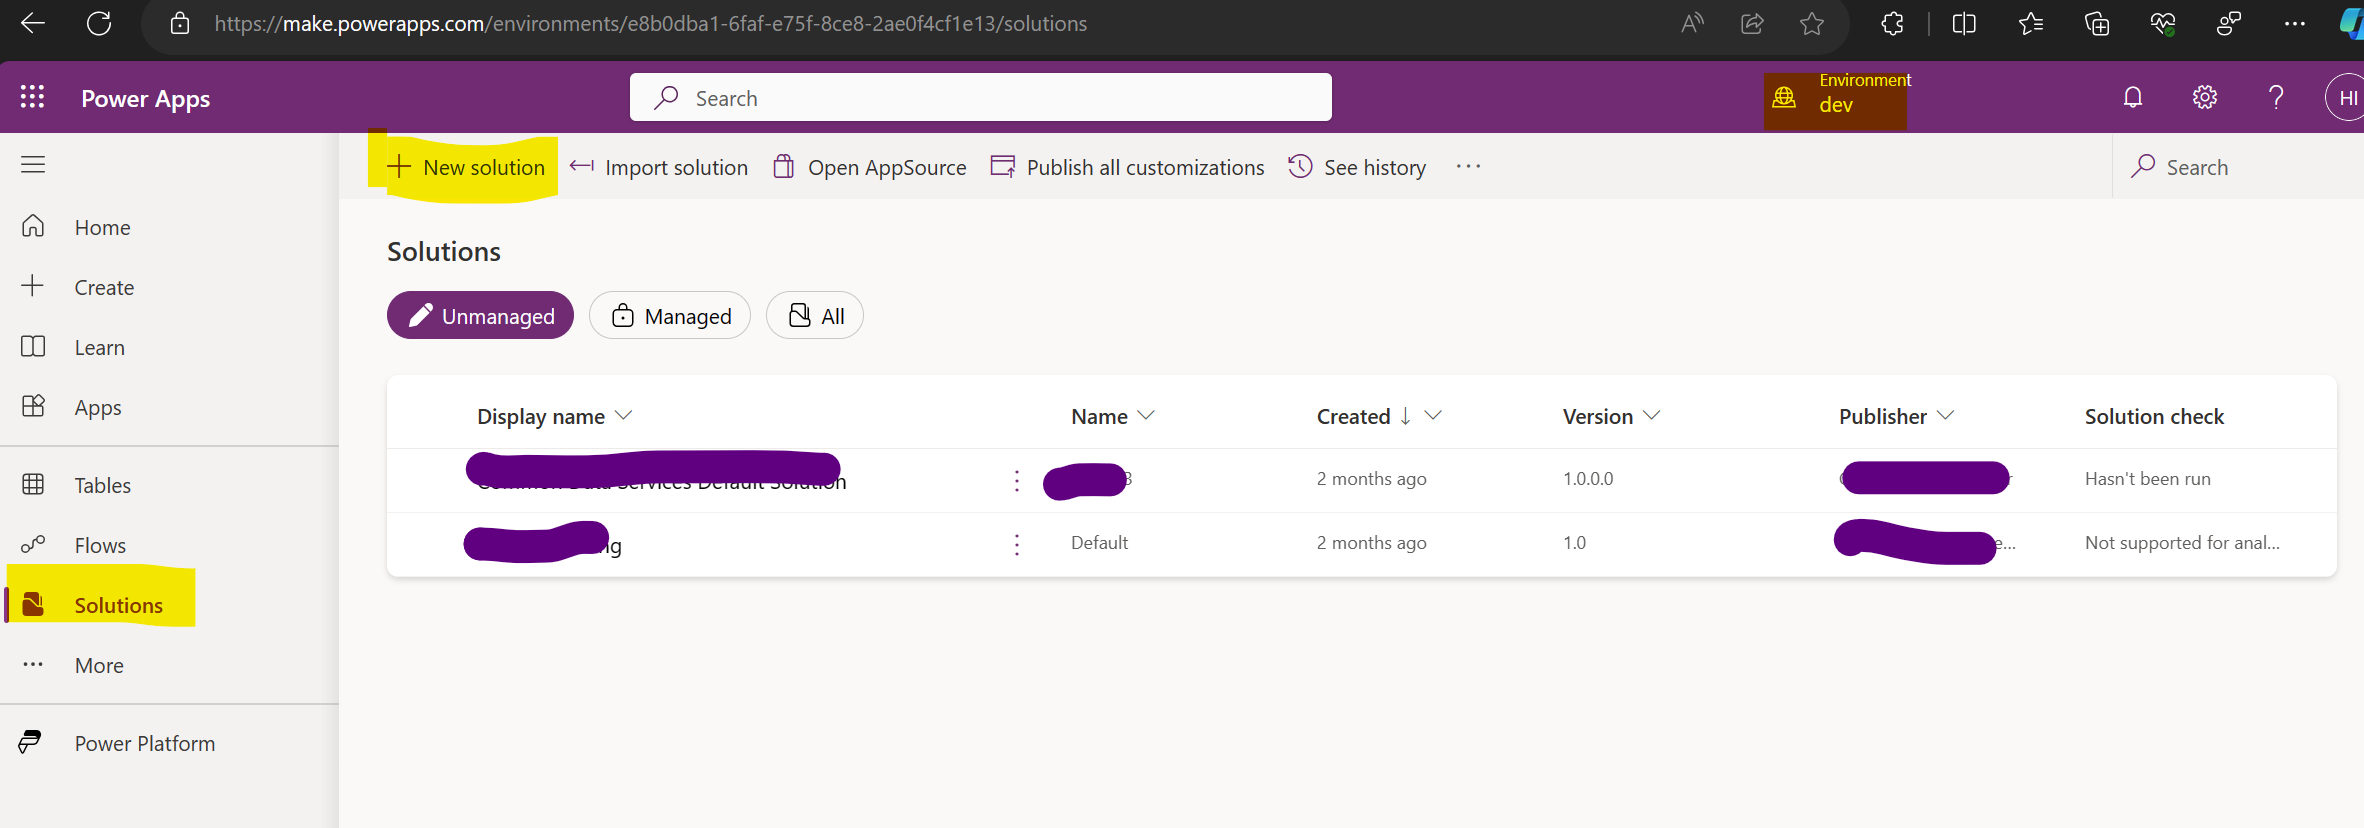
Go to make.powerapps.com
-
Select your Development Environment
dev(top right) -
Choose “solutions” and then “+new Solution”
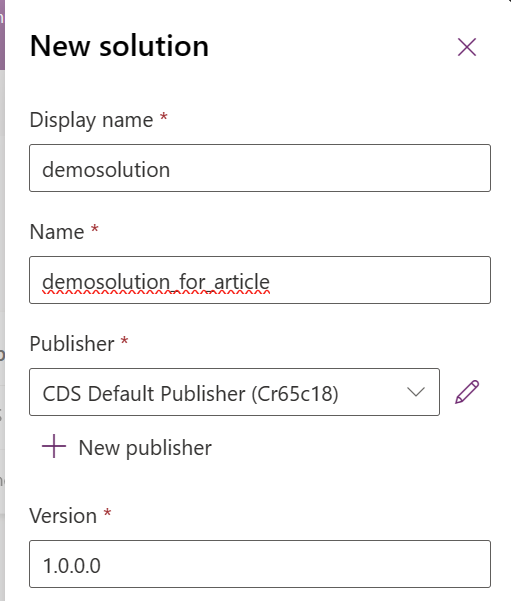
- give it a meaningful full name and hit “create”
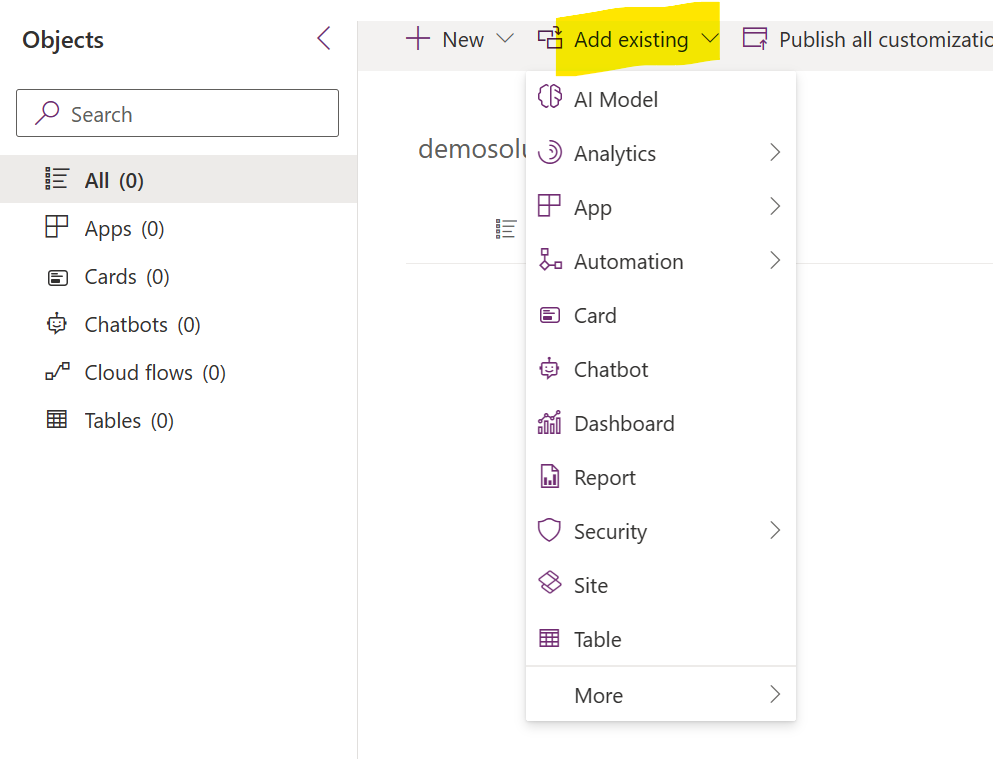
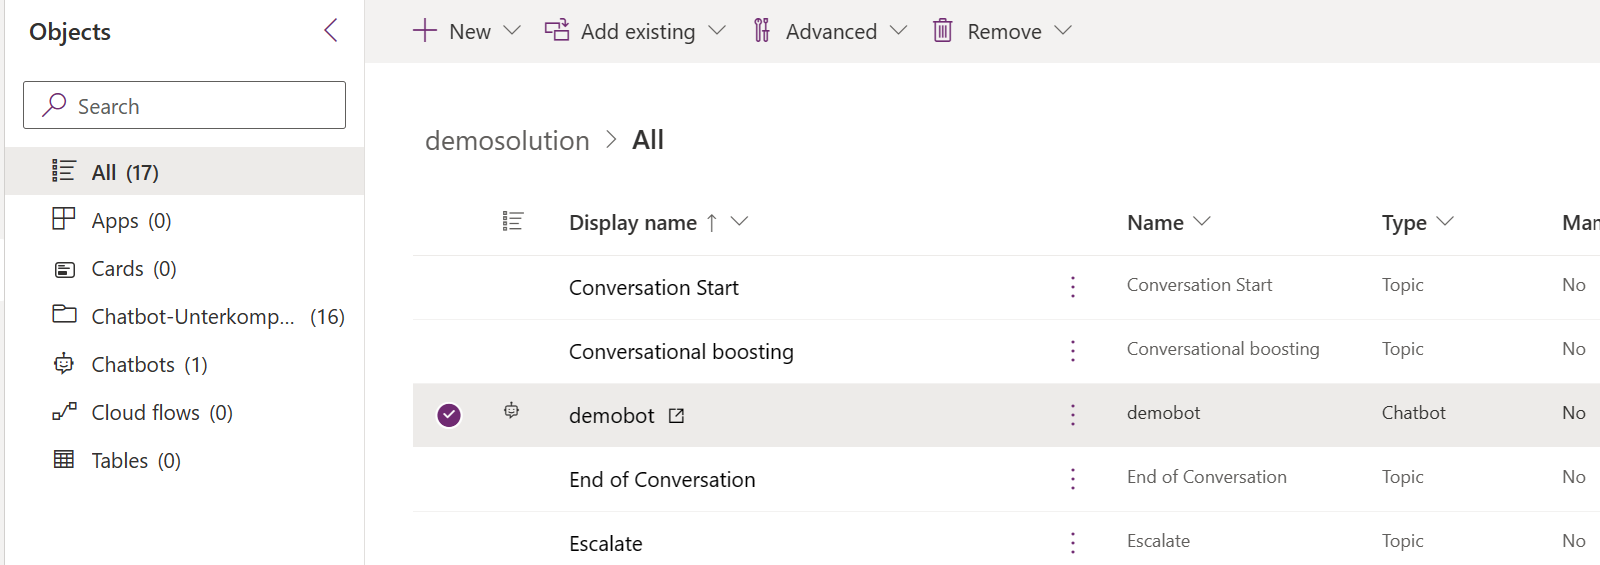
- Open the new solution and add all components associated with the project.
(in this case, we have created a solution with a basic Power Virtual Agents bot)
Initial export of the solution
Remember, we are beginning with a lightweight approach. Later, we will replace this with pipelines and, for example, GitHub Actions.
-
Go to your codespace on GitHub (see part 2 of this series) and open the terminal
-
List all your environments
pac org list
- and select the Development Environment
dev
pac org select --environment <Unique Name>
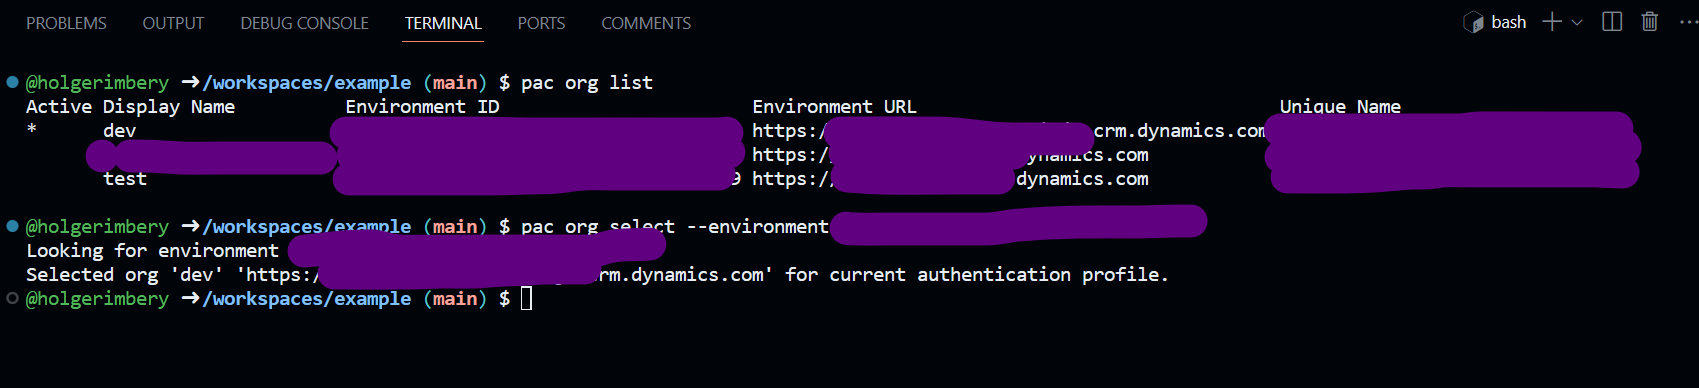
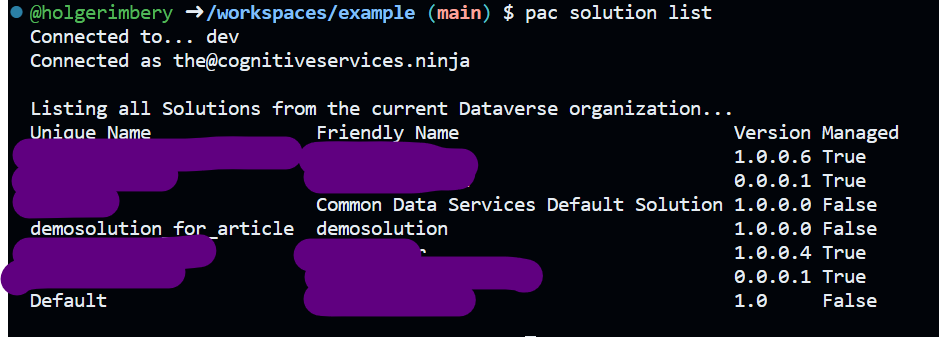
- list all your solutions within the environment
pac solution list
-
create a new path in your repository and export the solution you created in the step before
mkdir Solutionspac solution export --name <name of solution> --path Solutions

-
unpack the solution
pac solution unpack --zipfile 'Solutions/demosolution_for_article.zip' --folder 'Solutions/demosolution' -
find a result similar to the screenshot in your codespace

-
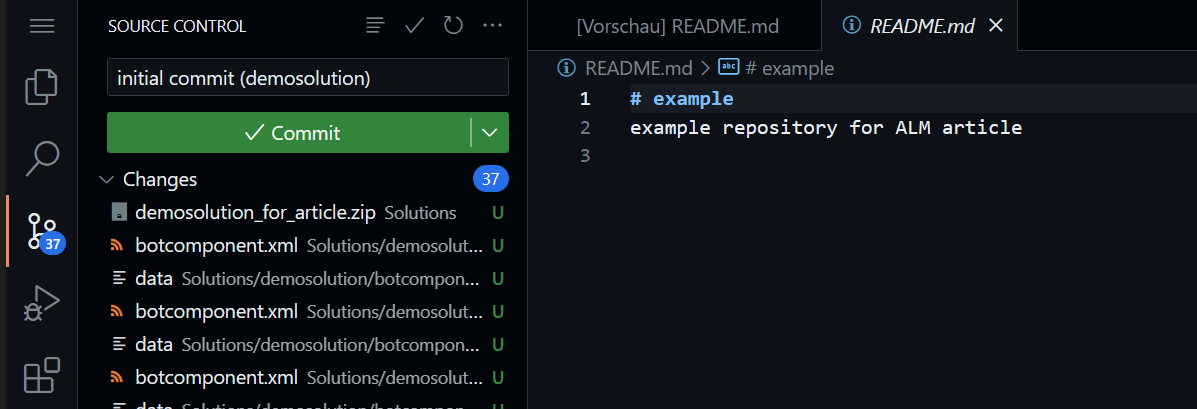
commit your code to the repository
-
click on the source control icon on the left
-
enter a meaningful commit message, hit “commit” and sync
-
-
Find your first commit in your repository on GitHub.

Create a new branch, export a change, and create a pull request
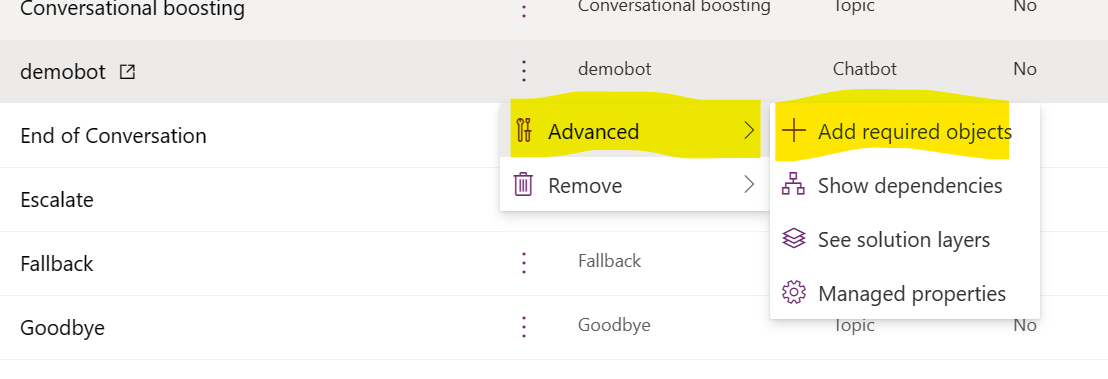
After working on your solution, create a new branch in your codespace.
Do not forget to add your changes to the solution, e.g right click on your bot and select “advanced” and “+Add required objects”
-
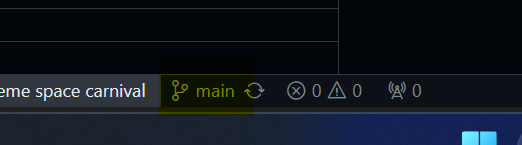
click on “main” in the status line
-
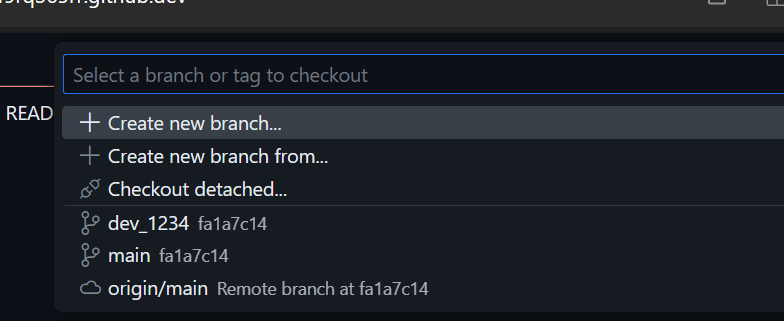
click on “+ Create new branch”
-
please give it a meaningful name and export your solution.
pac solution export --name 'demosolution_for_article' --path Solutions --overwriteand unpack
pac solution unpack --zipfile 'Solutions/demosolution_for_article.zip' --folder 'Solutions/demosolution' -
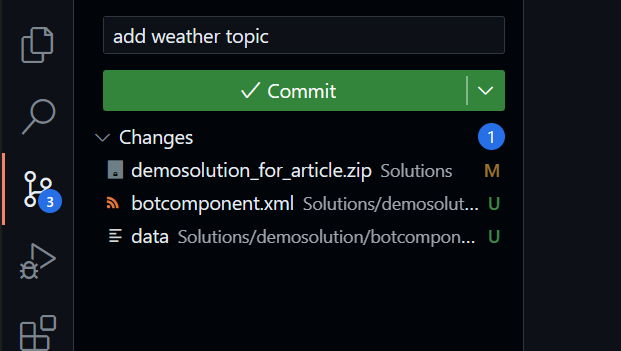
find your changes in the source control menu, give your commit a name, and commit
-
create a new pull request via codespaces vscode web.
-
select the GitHub icon on the left
-
, click on the “Create Pull Request” icon
-

- Give your PR a meaningful name and describe it to assist the repository maintainer in deciding to merge the PR.
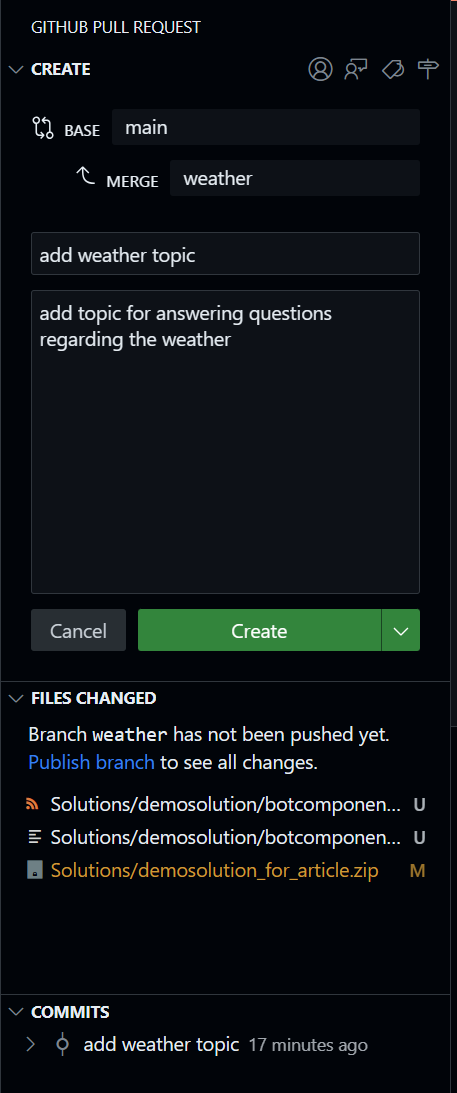
- the maintainer will then see the PR and can decide whether to merge or not
Additional Tasks
importing a solution file from the repository to an environment
pac solution import --path Solutions/demosolution_for_article.zip
clone a solution (export and unpack) in one step
pac solution clone --name 'demosolution_for_article.zi'p --outputDirectory 'Solutions/cloned-demosolution'
publish a solution
pac solution publish
please find the complete documentation on the Microsoft Learn page
Next step
In the following article of this series, we will accomplish the same tasks using GitHub Actions to eliminate the manual steps.
Conclusion
Solutions in Power Platform play a crucial role in Application Lifecycle Management, customization management, and deployment. By following the steps detailed in this article, you can effectively create, export, and manage solutions in your development environment. As you progress, you can further automate these tasks using tools like GitHub Actions to streamline your workflow and enhance productivity.
Start the conversation