

%20-%20activate%20chat%20history%20for%20adding%20a%20more%20convenient%20way%20to%20work!)
Table of Contents
Third part of a series
building the foundation - part 1 &
adding your own data - part 2 were published before
Motivation
After deploying ownGPT and incorporating our company data into the bot’s knowledge base, we aim to provide our users with a highly convenient way to interact with the bot by storing their prompts and offering the option to reuse them.
Activation chat history
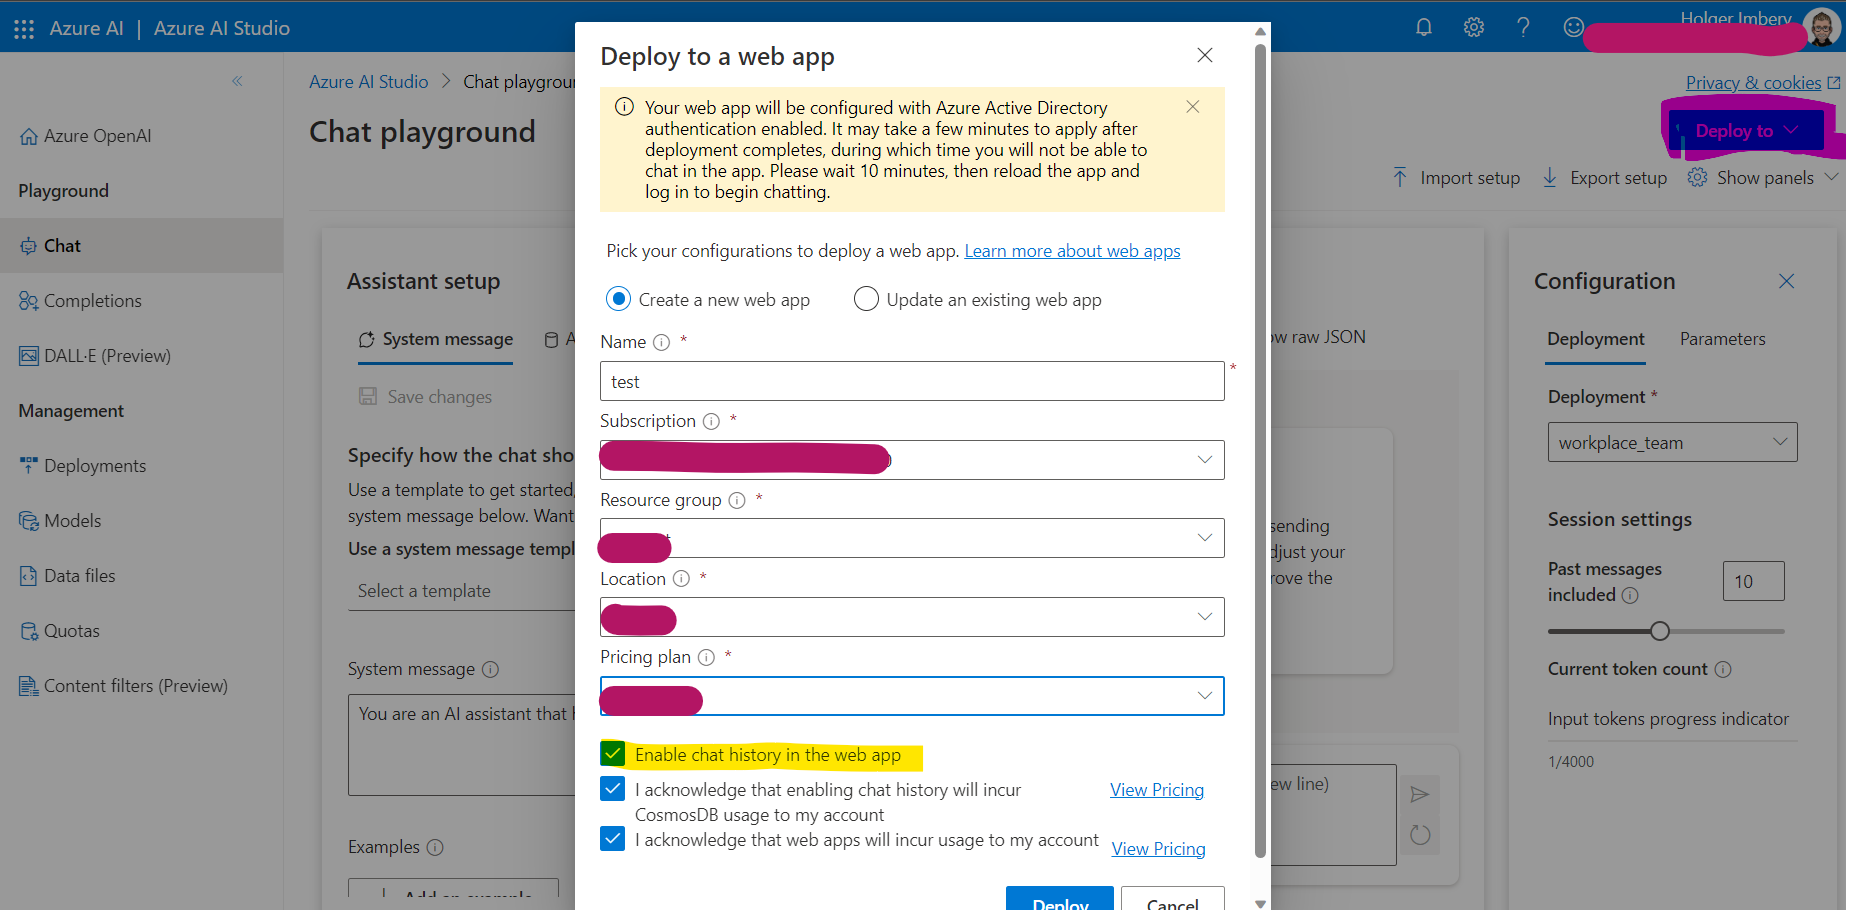
We will utilize the deployment wizard in the Azure OpenAI Playground to activate the chat history. This will establish a new Cosmos DB containing all the necessary components. Additionally, it will create a new web app, which we will remove following the database creation process as it is not needed.
To enable chat history, deploy your model as a temporary web app.
-
We go to the playground, select Chat, and click on the “Deploy to” button
-
We create a temporary web app with all of our details and select
“Enable chat history”.
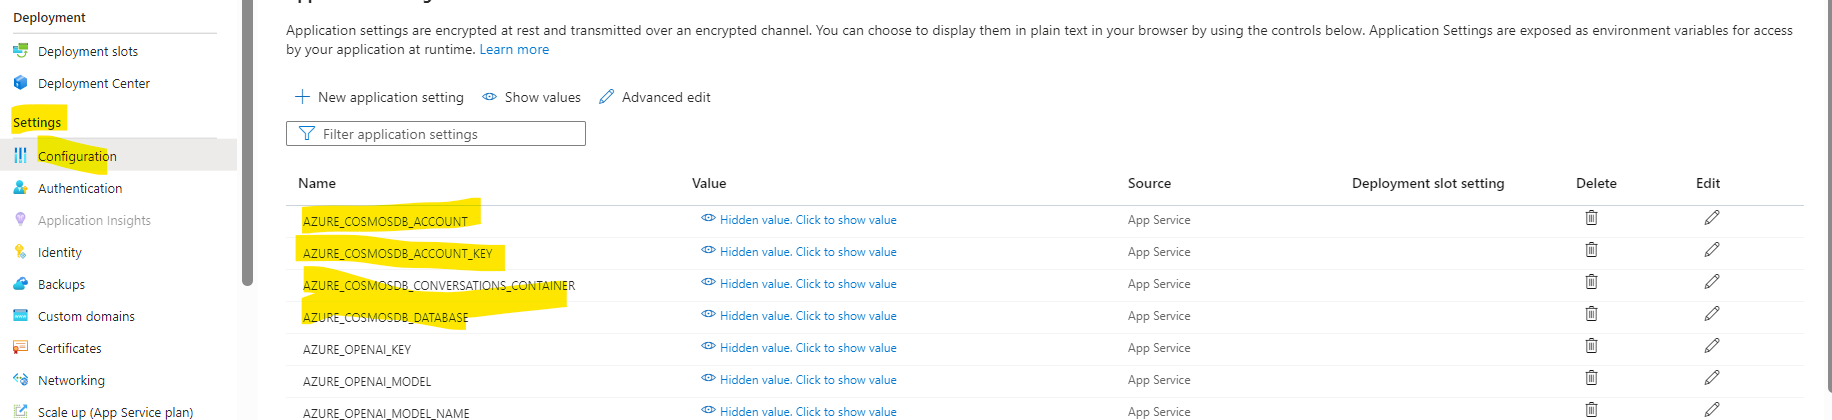
After deploying the web app, we open it in the Azure portal and copy the content of the Application Settings (found in the Settings configurations) related to AZURE_COSMOSDB* as well as the API of the COSMOSDB itself.
Afterward, it’s time to delete the temporary web app and its associated app service plan.
Test it local
We update the .env file with the content we save in the chapter before
AZURE_COSMOSDB_ACCOUNT=**********************
AZURE_COSMOSDB_DATABASE=*********************
AZURE_COSMOSDB_CONVERSATIONS_CONTAINER=******
AZURE_COSMOSDB_ACCOUNT_KEY=******************
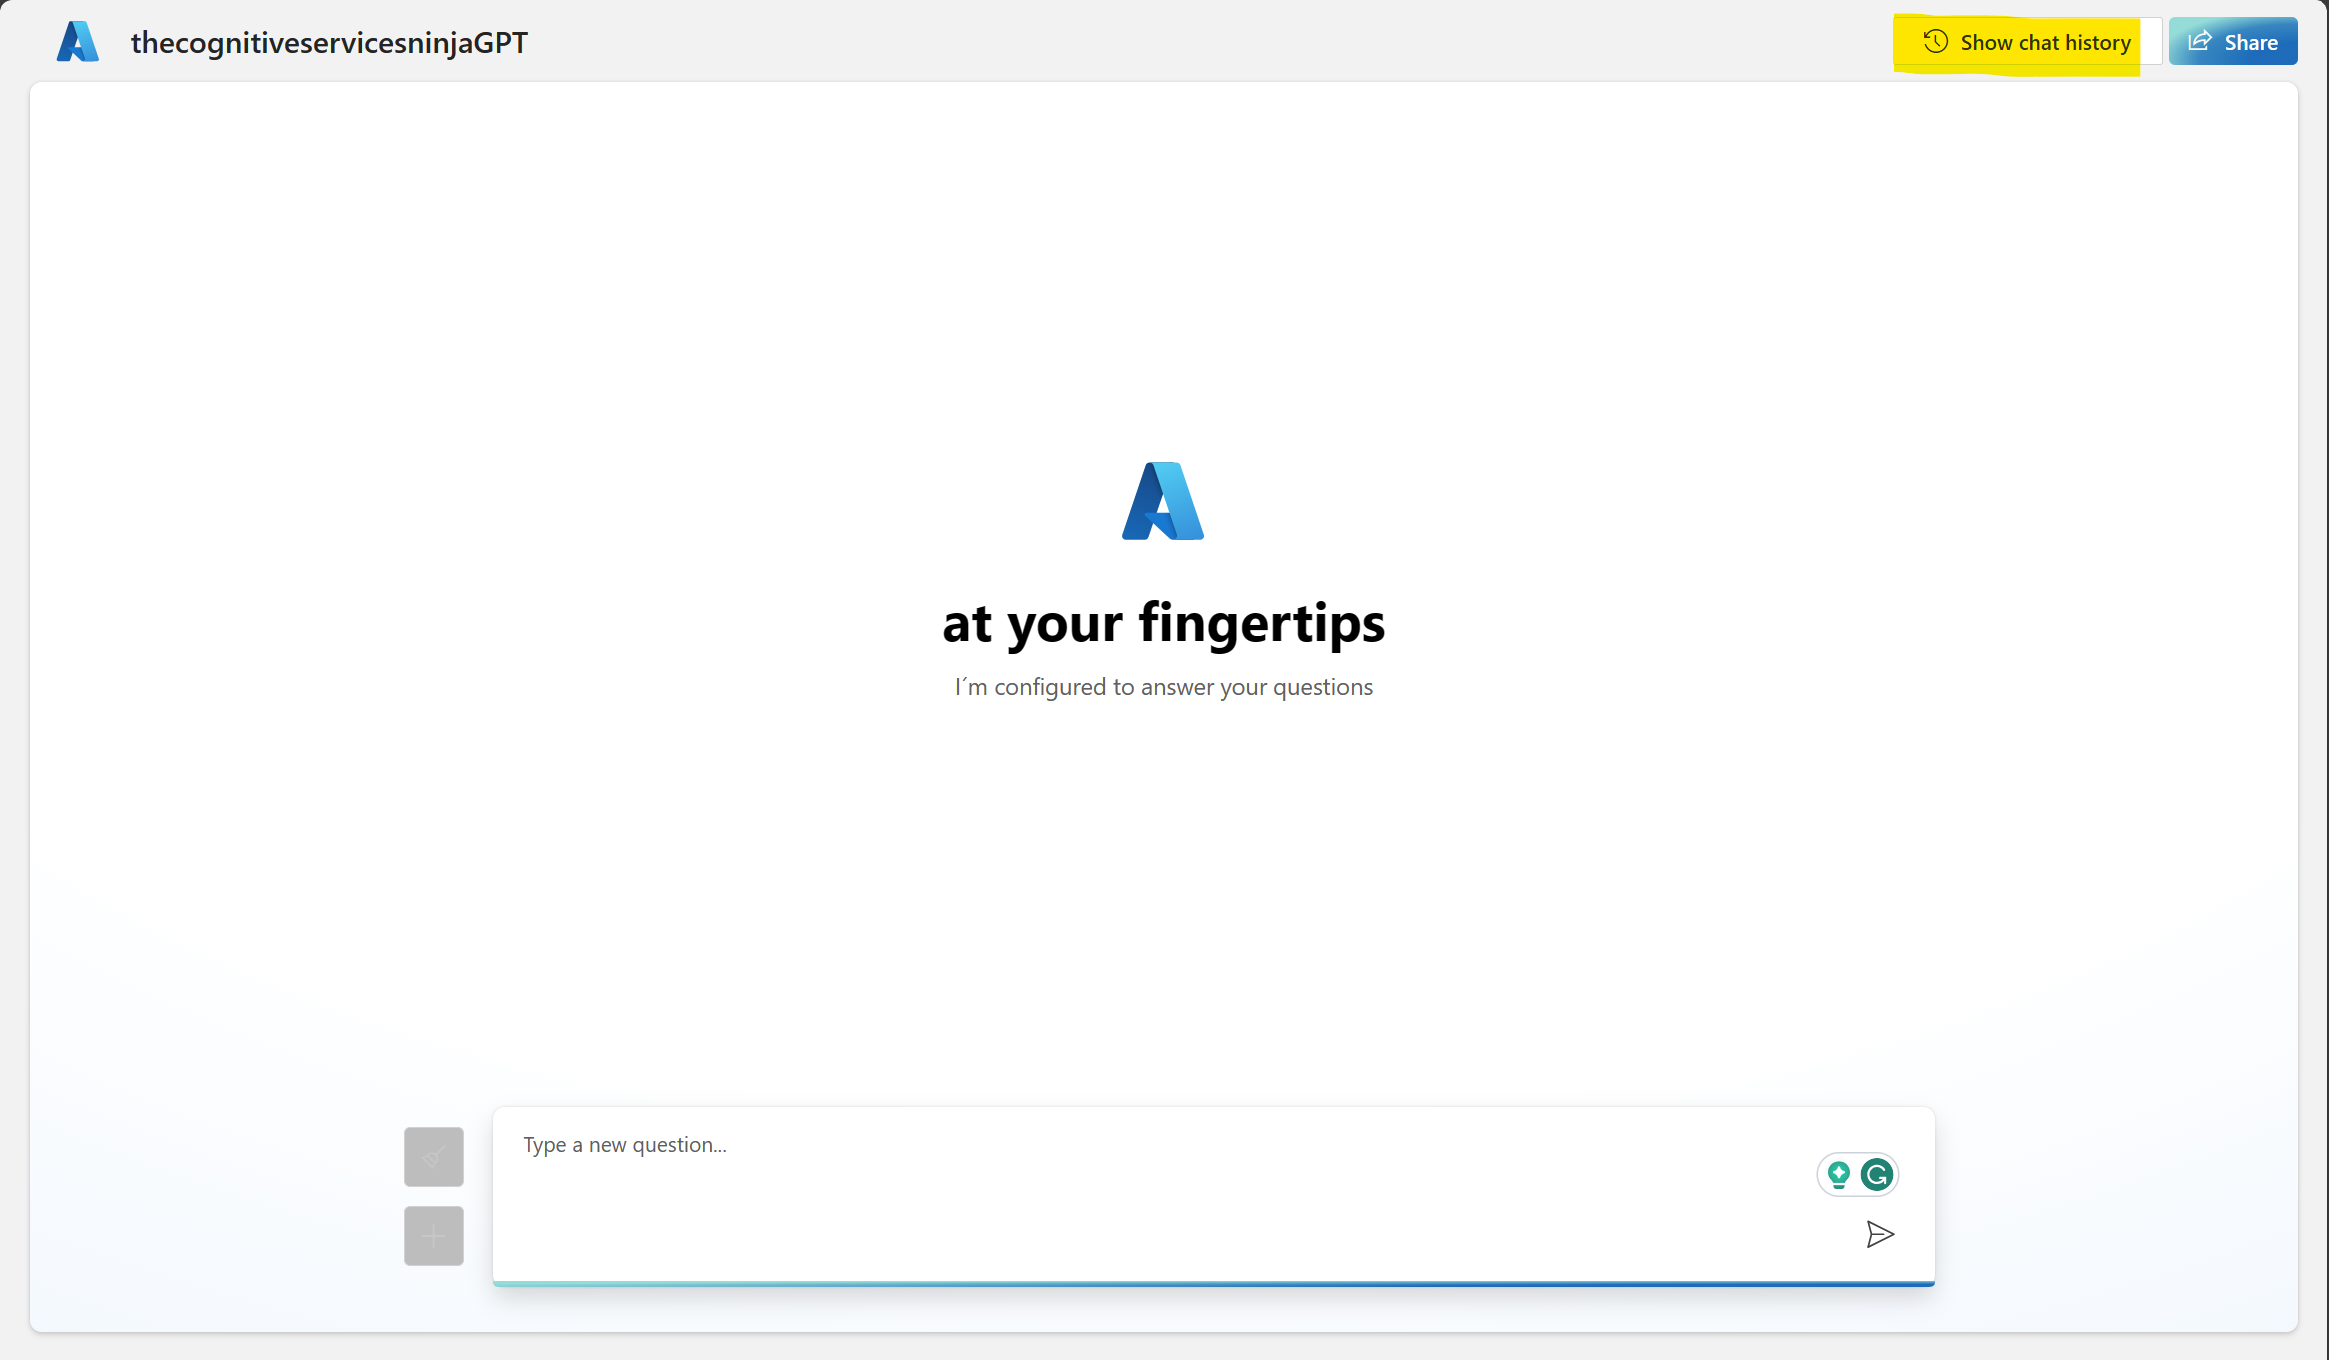
and restart the bot; the result on HTTP://127.0.0.1:5000 should look similar to the screenshot below.
Deploy it to your web app on Azure.
After selecting the Web App in the Azure portal, navigate to Settings / Configuration and add the appropriate Application Settings there.
Conclusion
Activating chat history on your ownGPT enhances the user experience by storing and reusing prompts. Use the wizard to deploy a temporary web app, which will create the necessary Cosmos DB. Afterward, configure the Cosmos DB settings in your settings, update the local and Azure environments, and you can seamlessly integrate this feature into your ownGPT implementation.
Start the conversation