


Photo by Daniel Páscoa on Unsplash
Create Your "ownGPT" in a Protected Way and Advance Its Potential (Part 1) - a simple web chat experience targeting chatGPT through AOAI


Motivation
You want your "ChatGPT" to operate in a secure environment, ensuring all data and interactions with your "bot" remain private.
Your prompts (inputs) and completions (outputs), your embeddings, and your training data:
Are NOT available to others.
Are NOT available to OpenAI.
Are NOT used to improve OpenAI models.
Are NOT used to strengthen any Microsoft or 3rd party products or services.
Are NOT used for automatically improving Azure OpenAI models for your use in your resource (The models are stateless unless you explicitly fine-tune models with your training data).
Your fine-tuned Azure OpenAI models are available exclusively for your use.
Microsoft fully controls the Azure OpenAI Service; Microsoft hosts the OpenAI models in Microsoft's Azure environment, and the Service does NOT interact with any services operated by OpenAI (e.g., ChatGPT or the OpenAI API).
With some experience in PowerShell and Azure Administration, you will get an interface like the one in the picture below. If you are familiar with Node.js, Python, and Azure CLI, you can take it a step further.
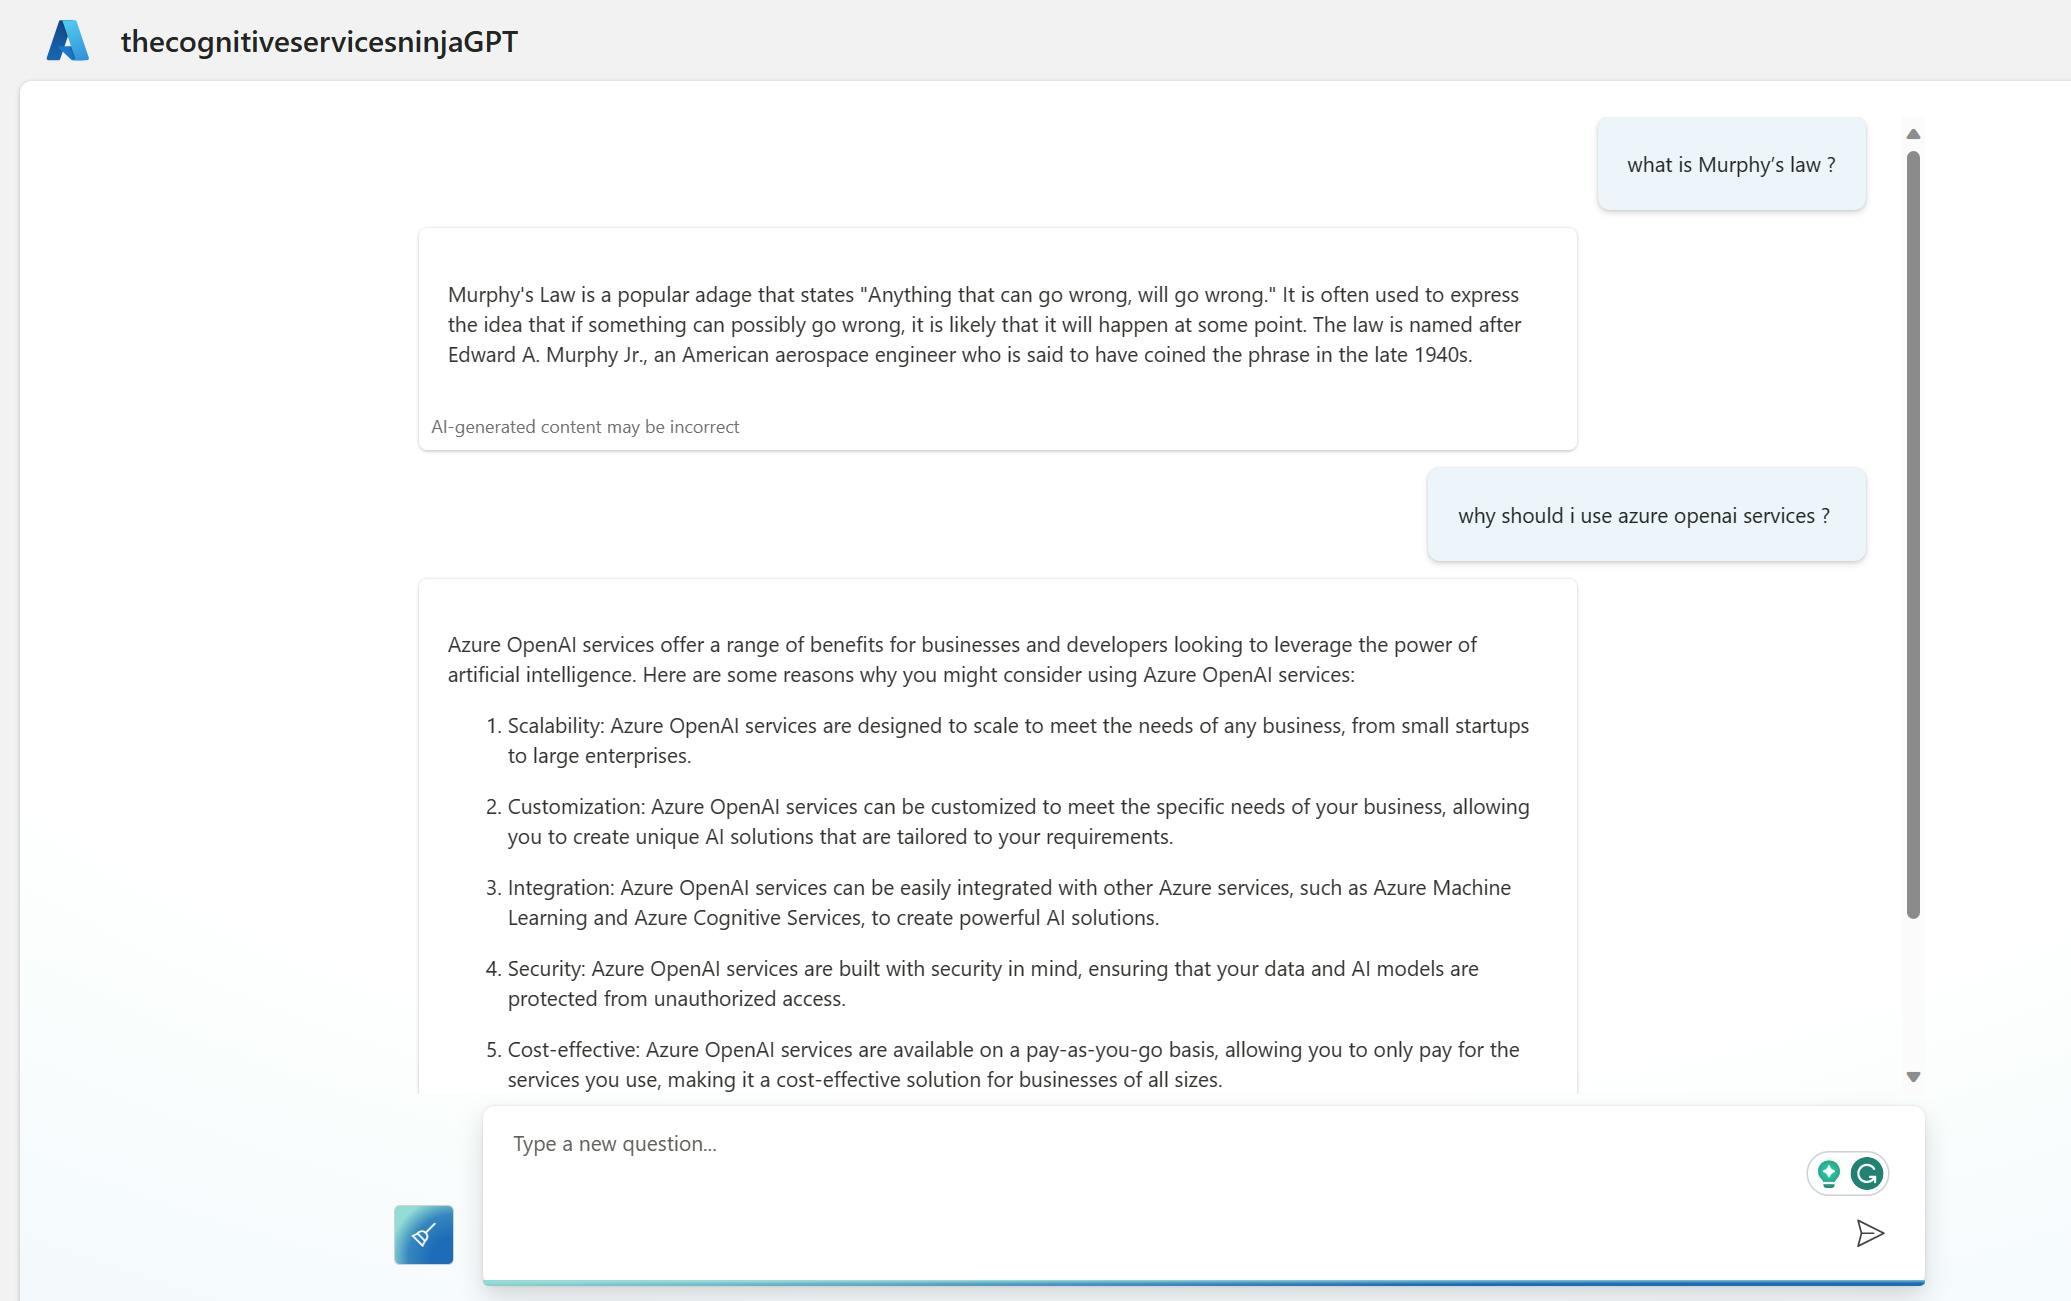
Within the following weeks, this series will guide you in utilizing Azure OpenAI Services to create your own company's "chatGPT" with all the necessary components to enhance your business without compromising it.
Building the foundation (this part)
Incorporating your own data to create unique experiences (Part 2)
Adding the ability to take action on your data, not just discuss or interact with it (Part 3)
Integrating a voice channel for spoken language usage (Part 4)
Build the foundation
Create and deploy an Azure OpenAI Service resource
Go to Azure OpenAI Studio and deploy a model
Before generating text or making inferences, you must deploy a model. Choose a GPT-35-TURBO or GPT-4 in Azure OpenAI Studio.
To deploy the model, follow these steps:
Sign in to Azure OpenAI Studio.
Choose the subscription and the Azure OpenAI resource to work with, then select "Use resource."
Under "Management," select "Deployments."
Select "Create new deployment" and configure the following fields:
| Field | Description |
| Select a model | Choose a GPT-35-TURBO or GPT-4 model |
| Deployment name | Choose a name carefully. The deployment name is used in your code to call the model using the client libraries and the REST APIs. |
a. Choose a model from the drop-down list.
b. Provide a deployment name to identify the model quickly.
c. Keep the Advanced options at their default settings for your initial deployment.
Select Create.
The Deployments table displays a new entry corresponding to your recently created model. Once the deployment is complete, the status of your model deployment will change to "Succeeded."
Retrieve the elements you need to access it
To work with the model, we need to remember some details:
AZURE_OPENAI_RESOURCE= # the red part
AZURE_OPENAI_MODEL= # the green part
AZURE_OPENAI_KEY= # the blue part
AZURE_OPENAI_MODEL_NAME= # the type you deployed
We will find the details in the "playground", unter "Completions", and "View Code".
Where to find them is marked in the screenshot below with different colors.

Create the Chat Interface and deploy it to an Azure App Service
We don't need to build everything from scratch or reinvent the wheel; instead, we can utilize Microsoft's prebuilt experience from GitHub.
Clone the repository.
Ensure that you have Node.js, Python, and the Azure CLI installed.
Test it local
Create a copy of the "env.sample" file, name it ".env", and use the details we saved in the previous chapter to update it.
Start the show with "./start.cmd".
After a while, you will see your "ownGPT" in a browser window http://127.0.0.1:5000, and you can tailor the interface to your needs.
Deploy it to Azure.
DO NOT USE
the one Click experience from the repository as it will use a prebuild container
Create a resource group on Azure.
Login via Powershell and Azure CLI
az login
- deploy an app service and an app service plan (I recommend a B3 instead of a B1 SKU, as mentioned in the repository; you can afford it :-) )
az webapp up --runtime PYTHON:3.10 --sku B3 --name <new-app-name> --resource-group <resource-group-name> --location <azure-region> --subscription <subscription-name>
Use the same command to update the app later
The deployment will take several minutes. When it completes
Create the application settings
Open the web app on the Azure portal
Go to Configurations, and add the "AZURE_OPENAI_*" Settings using the details we saved before and the defaults from the ".env" file.

Restart the web app.
You should add an identity provider.
- Go to "Settings", Authentication" in the web app and add, e.g., Microsoft with the defaults as an identity provider.
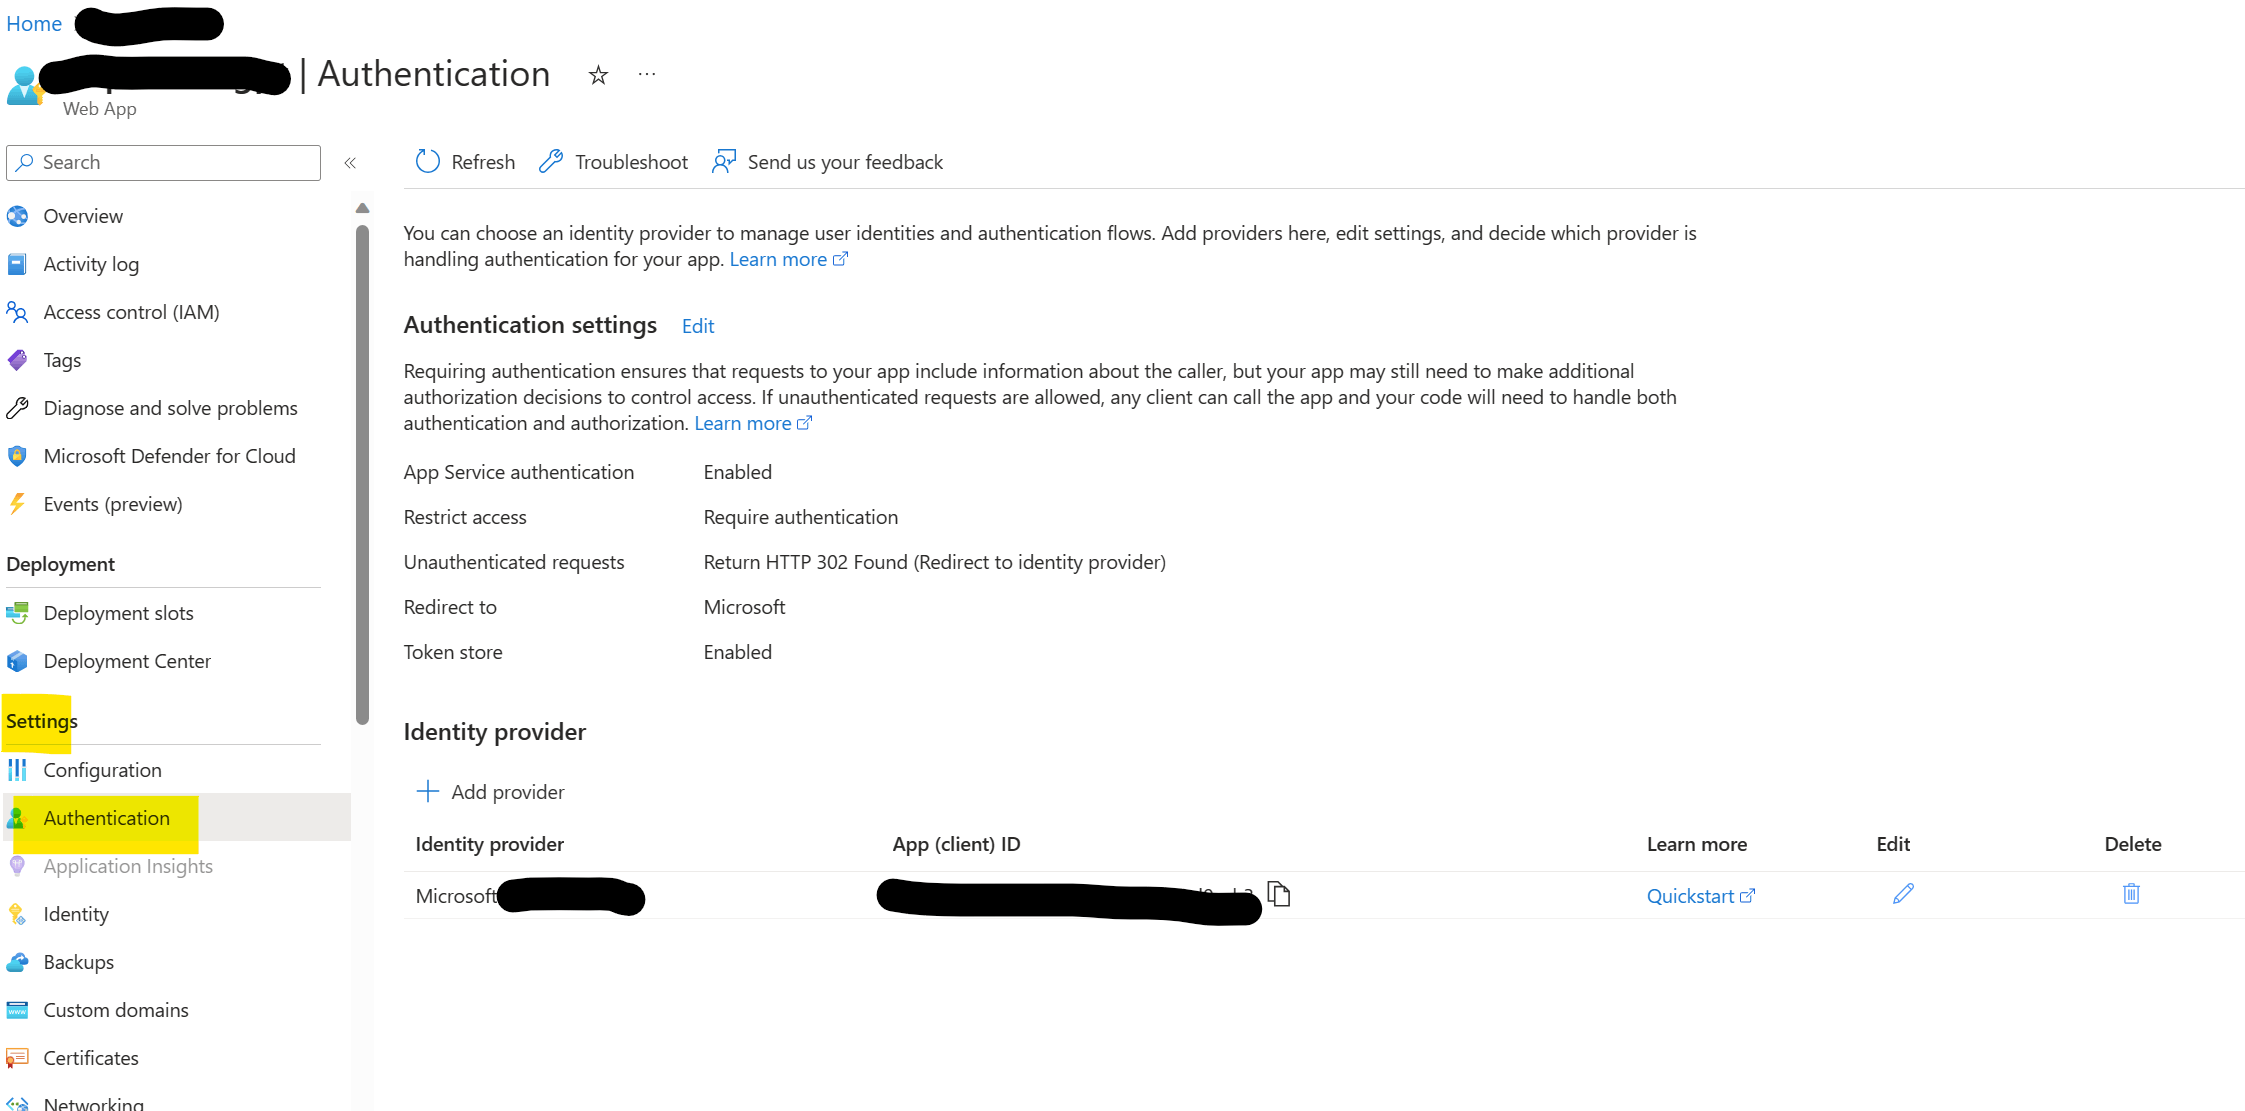
Go to https://{app-name}.azurewebsites.net and find your first version of your "ownGPT" secured with an identity provider and in a safe environment.
What's next
Within the following weeks, we will explore together the following elements of creating your "ownGPT"
Incorporating your own data to create unique experiences (Part 2)
Adding the ability to take action on your data, not just discuss or interact with it (Part 3)
Integrating a voice channel for spoken language usage (Part 4)
Conclusion
Creating your ownGPT in a protected way using Azure OpenAI Service allows you to enhance your business without compromising security or privacy. This series will teach you how to incorporate your data, take action on it, and integrate voice channels for a tailored and secure AI-powered chatbot experience.